myFSU Mobile Tips Page
You’re busy. We get it. That’s why myFSU Mobile makes it easy to access personalized information on the go. Use the app to take care of important student tasks from any mobile device. Check your grades, register for classes, update personal info—all right from the app. Simply tap the person icon at the top of the screen, tap My Persona and select the student persona to enjoy secure access to your Florida State University account. It’s that easy.
FAQs
Do I have to log in?
Where are the tools such as Canvas and Maps?
What are personas and how do I switch to a different one?
How do I search for classes?
- Tap the Class Search icon.

- Ensure the corect semester is selected.

- Enter at least 2 search criteria.

- Tap Search to see the results.


Is everything on Student Center on the myFSU Mobile app?
No. Only information that you can use “on the go” – such as quick views of Student Center – is available through the myFSU Mobile app. You can still access the full Student Center site through myFSU portal.
How can I drop a class after the Drop/Add Period?
If you need to drop a class after the semester’s drop/add period, you must complete this task in the Student Center site through the myFSU portal.
When I click on Add, I get a message that my enrollment window is closed. When does my enrollment window open?
While the Add icon is visible for all users, your ability to enroll in classes are dependent on your enrollment window. To see your enrollment window, go to the myFSU portal, under the “Future” tab on the My Courses portlet. In the interim, you can add classes to your Shopping Cart to prepare prior to your enrollment window opening.
How do I import the schedule I built in Schedule Assistant?
- Tap the Schedule Assistant icon.

- Tap the Click Here button to open the Schedule Assistant.

- Open Schedule Assistant by allowing the popup.
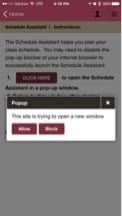
- Ensure the correct semester is selected.

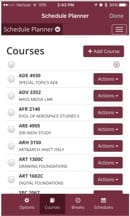
- Search and add courses on the Courses tab.
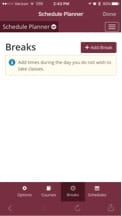
- Enter confilicts to avoid on the Breaks tab.
- Tap Generate on the Schedules tab.
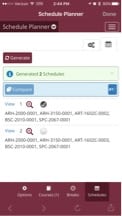
- Tap View to view the proposed schedule.

- If you agree with the proposed schedule, tap Open at the top of the page.

- Tap Send to Shopping Cart and complete process.

- Tap Ok.
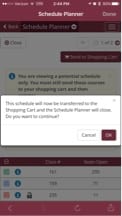
- Tap Done.
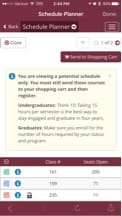
- Tap Course Enrollment.

- Tap Import Cart.

- Complete the steps at the bottom of the page to enroll in the generated schedule.
I can’t find the criteria I normally use in Course Search, where is it?
Select the Additional Search Criteria, at the bottom of the Search page to find additional search criteria. These include student groups, specific types of courses, limit selections by day or time, and instructor’s last name.
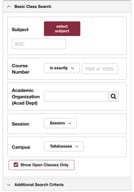
I am enrolled as a Graduate Student and Law Student, how do I switch the Course Search to look at my other options?
- Select the Additional Search Criteria at the bottom of the Search page.

- Select the Course Career dropdown.
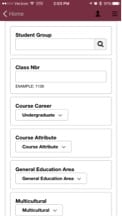
- Select the alternative Course Career option to search those options.
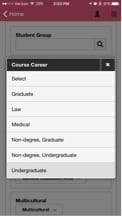
- Enter other search criteria (if applicable).
- Tap Search.

How do I use My Planner?
- Tap on the Courses Not Assigned to a Term to see available courses.
- Select the checkbox of the class you want to move to a future semester.
- Select a semester from the dropdown box.
- Tap Move.
- The class will now be located in selected semester.
Add Courses to Planner from the Academic Requirements Report
- On the My Planner page, tap the Plan By My Requirements button.

- Your Academic Requirements Report will open on the next screen. On the report, scroll down to the Requirement that you are planning for. Beneath the area that states The following courses may be used to satisfy this requirement, tap the “>” for the course you want to add to Planner.
IMPORTANT NOTE: Not all areas of the Academic Requirements Report may allow you to view the courses that count for a given requirement. If you do not see the statement The following courses may be used to satisfy this requirement followed by the list of courses that may be taken to meet that requirement, then you will not be able to use the Academic Requirements Report to add those courses to your Planner. If you know the courses that will count for the requirement, follow the instructions in the previous section for adding a course by the Browse Course Catalog option.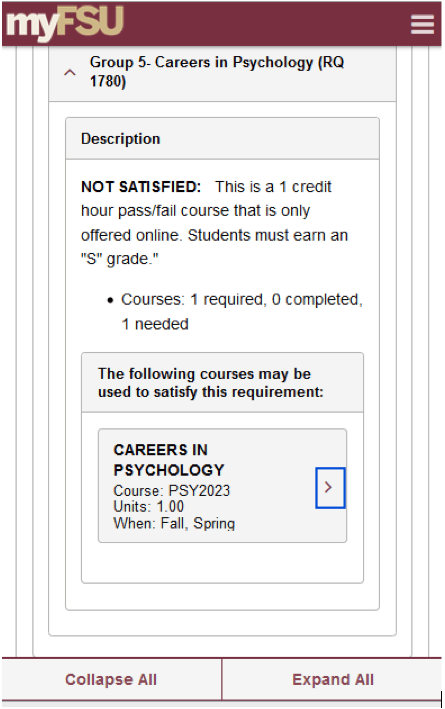
- The Course Detail page will let you review information on the course, including Units, the semesters the course is Typically Offered, Prerequisites, and a Course Description. Tap the Add to Planner.

- Return to My Planner to view courses.
- Courses will be found in Courses Not Assigned to a Term.
Search by "Browse Catalog"
- On the My Planner page, tap the Browse Course Catalog button at the bottom of the page.

- You will search for a course by the Subject Area. Select the first letter of the Subject Area for the course(s) you are looking for.

- Scroll through the list of Subject Areas that begin with the letter you selected. Click the garnet arrow icon beside the subject you are searching for to expand the selection and view the Course Numbers offered within that Subject Area.
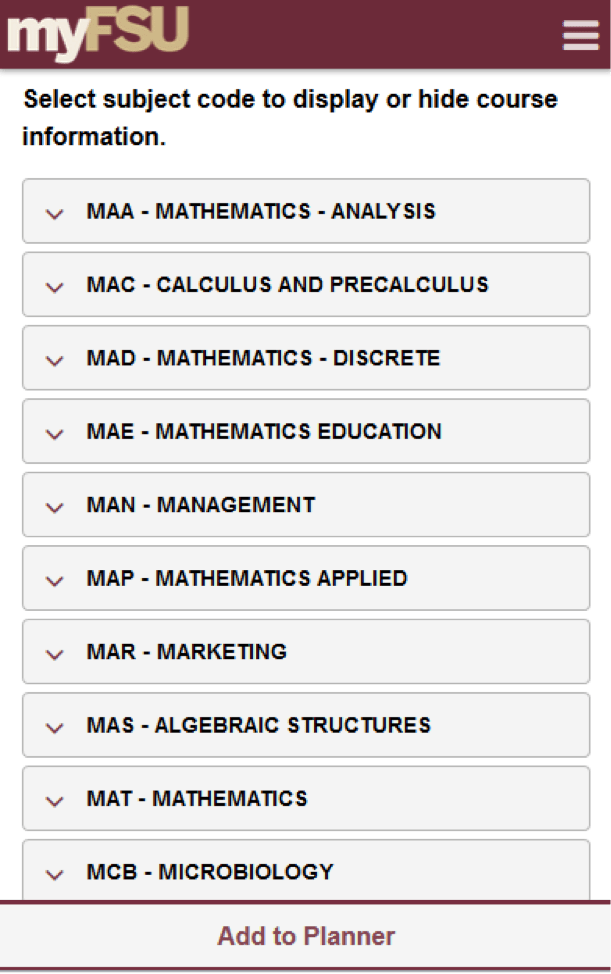
- From expanded course list, you will also be able to view the Course Number, Course Title and the semesters a course is Typically Offered.
NOTE: Course offerings for a specific semester are subject to change depending upon enrollment demand and other factors.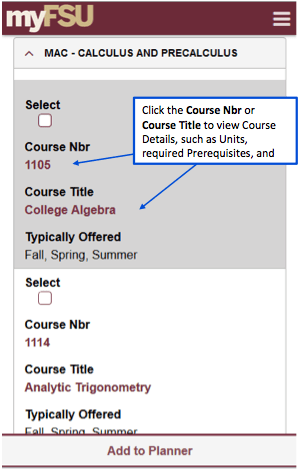
- Tap the box within the Select column for the course(s) you want to add to your Planner.
- Select Add to Planner button.
- Return to My Planner to view courses.
- Courses will be found in Courses Not Assigned to a Term.
Is my information protected from others seeing it?
What do I do if my information is not correct?
Which one of the phone numbers provided sends me text alerts?
How do I sign out?
 ) in the upper-right corner, then tap Sign Out.

